Understanding Vapor Barrier Installation
What is Vapor Barrier Installation?
Vapor barrier installation involves the application of a material designed to prevent moisture from penetrating through walls and floors into living spaces. These barriers are commonly used in basements, crawlspaces, and other areas susceptible to high humidity and moisture. They are critical in maintaining a dry environment, particularly in regions with fluctuating temperatures and high water tables. The installation process is vital for effectively protecting a home from potential damage caused by excess moisture, such as mold growth, wood rot, and structural deterioration. A proper vapor barrier installation can significantly enhance the longevity and safety of your property.
The Importance of Vapor Barriers in Homes
Vapor barriers play a crucial role in managing moisture levels in homes. High moisture levels can lead to various problems, including the growth of mold and mildew, which can pose health risks for occupants. Additionally, excess moisture can lead to structural issues, as it may weaken the foundation and walls of a house over time. A vapor barrier acts as a preventative measure, reducing the risk of these issues by regulating the movement of moisture and vapor. Proper installation can also contribute to energy efficiency by maintaining more consistent indoor temperatures, thus leading to lower heating and cooling costs.
Common Materials Used for Vapor Barriers
There are several materials commonly used for vapor barriers, each offering unique benefits and applications:
- Plastic Sheeting: Typically made from polyethylene, plastic sheets are the most common vapor barrier material due to their affordability and effectiveness.
- Foil Vapor Barriers: Made of reflective material, foil vapor barriers are excellent for reflecting heat, making them suitable for homes in colder climates.
- Spray-On Coatings: Some homeowners opt for spray-on vapor barrier solutions, which can be helpful for irregular surfaces and provide seamless coverage.
- Composite Materials: These combine multiple layers, offering benefits from various materials, such as enhanced durability and moisture resistance.
Preparing for Vapor Barrier Installation
Assessing Your Space and Conditions
Before installing a vapor barrier, it is essential to assess the area where it will be applied. This involves inspecting the walls and floors for existing signs of moisture, such as stains, efflorescence, or mold. Understanding the local climate is also crucial; homes in wetter regions might require more comprehensive solutions. It is advisable to check for any structural damage that could be exacerbated by moisture and to evaluate existing drainage systems. If conditions appear unsuitable for installation, repairs or additional mitigation measures should be taken.
Tools Required for Effective Installation
Having the right tools on hand is vital for a successful vapor barrier installation. Essential tools include:
- Measuring Tape: For accurately measuring dimensions.
- Utility Knife: To cut the vapor barrier material to the necessary sizes.
- Staple Gun: For securing the barrier to walls and floors.
- Roller or Paintbrush: If applying sealant or adhesive.
- Moisture Meter: To check moisture levels in the area before and after installation.
Safety Precautions to Consider
Safety should always be a top priority when working on home improvement projects. Ensure the work area is well-ventilated, especially if you will be using adhesives or sealants. Wear protective gear, such as gloves, goggles, and a dust mask, to avoid exposure to harmful particles or chemicals. Additionally, be cautious of sharp tools and heavy materials during installation. If any signs of severe moisture damage or hazardous materials like asbestos are discovered, it is advisable to consult with professionals before proceeding.
The Step-by-Step Process of Vapor Barrier Installation
Preparing the Surface for Application
The success of your vapor barrier installation largely depends on how well the surface is prepared. Start by cleaning the area to remove dirt, debris, or existing mold. Make any necessary repairs, such as filling cracks or gaps in walls and floors, to create a smooth surface. Ensure the area is dry; if moisture is present, allow it to dry completely before proceeding. Additionally, consider applying a primer if using a paint-on vapor barrier for better adhesion and performance.
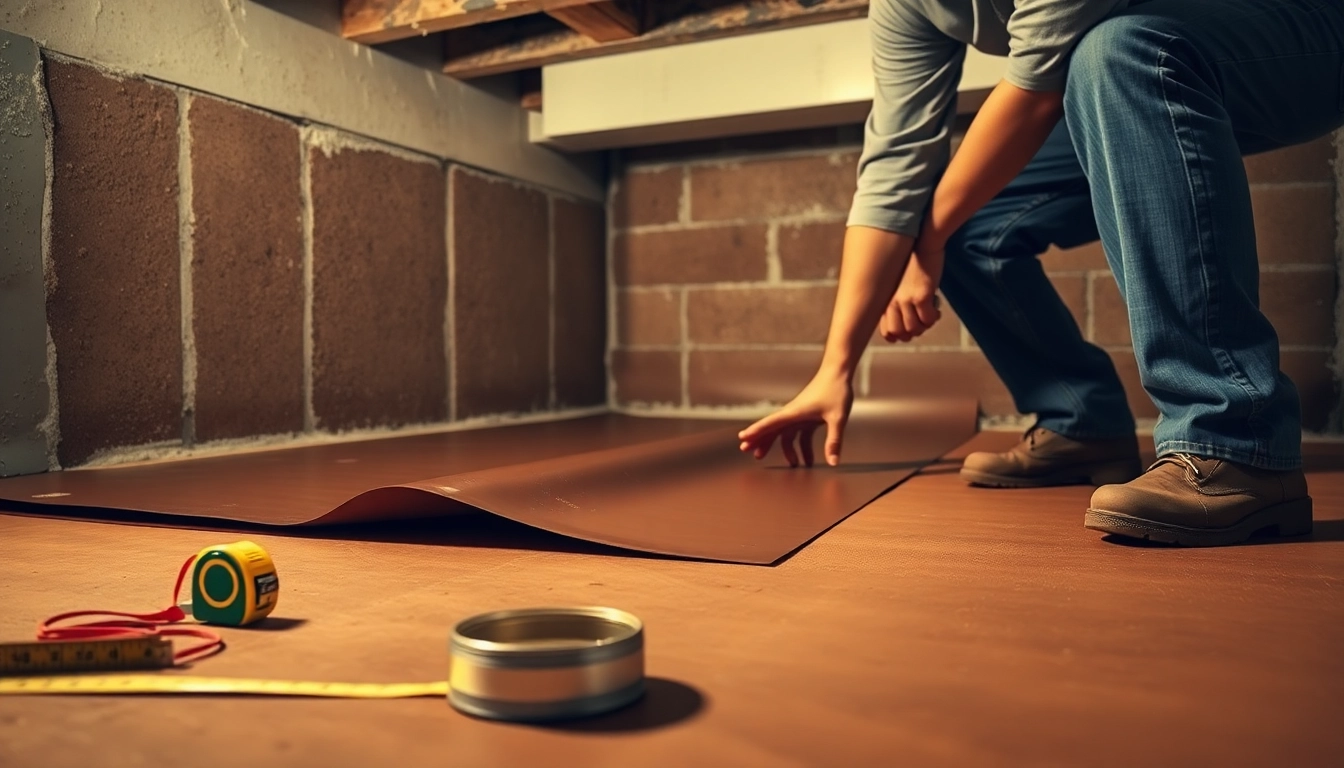
Applying the Vapor Barrier Effectively
Once the area is prepared, you can begin installing the vapor barrier. Lay the barrier flat on the intended surface, ensuring it overlaps with walls and other seams. Use the measuring tape to cut the materials to the appropriate size. Secure the vapor barrier using a staple gun, focusing on the edges and any overlapping pieces. If using adhesive, apply even strokes with a roller or paintbrush to coat the surface before placing the barrier down. For larger areas, multiple sheets may need to be joined, so ensure that connections are sealed thoroughly to prevent moisture ingress.
Curing and Final Checks
After applying the vapor barrier, it is essential to allow any adhesives or sealants to cure according to the manufacturer’s instructions. Once cured, conduct a thorough inspection of the installation. Check all seams and edges to ensure they are sealed properly, and use a moisture meter to validate that moisture levels are within acceptable ranges. It’s important to confirm that the barrier is functioning as intended to avoid complications in the future.
Common Challenges in Vapor Barrier Installation
Identifying Potential Moisture Issues
During the preparation phase, identifying potential moisture issues requires keen observation. Symptoms like persistent dampness or a musty odor can indicate underlying problems. Conducting thorough moisture testing can help assess areas of concern. In some cases, excessive groundwater or poor drainage may require additional solutions, such as installing sump pumps or improving exterior drainage systems.
Dealing with Uneven Surfaces
Uneven surfaces can pose a challenge during the installation of vapor barriers. If the foundation or floors have significant irregularities, consider leveling compounds to create an even base. For substantial variations, a professional assessment may be warranted to ensure that moisture doesn’t bypass the barrier due to gaps or weak spots.
Addressing Misapplication and Repairs
Misapplication of vapor barriers can lead to severe moisture issues. Common mistakes include insufficient overlapping of seams or failure to secure edges. If problems are detected after installation, they may require repairs such as resealing edges, replacing sections of the vapor barrier, or even re-evaluating the entire installation process. Regular inspections are key to detecting such issues early and addressing them promptly to maintain efficacy.
Measuring Success: Evaluating Vapor Barrier Installation
Signs of a Properly Installed Vapor Barrier
A successful vapor barrier installation will show several signs. Firstly, there should be no obvious signs of mold or mildew growth in the vicinity. You should also notice improved air quality and humidity control in the home. Regular moisture checks with a meter should show stable, low levels of moisture. Additionally, inspecting the barrier annually for wear and ensuring the seals remain intact will help confirm its performance over time.
Long-term Maintenance Practices
Regular maintenance is crucial for the longevity of your vapor barrier. An annual inspection should be performed to check for any signs of damage or wear, focusing on seams and points where the barrier meets walls or floors. Additionally, keep an eye on your home’s humidity levels and install dehumidifiers if necessary to assist the vapor barrier in its role. Maintaining good drainage systems around the property can also prevent excess moisture from compromising the barrier’s effectiveness.
When to Seek Professional Help
While many homeowners can successfully install vapor barriers on their own, some situations may require professional assistance. If you encounter extensive moisture damage, have concerns about underlying structural issues, or if the installation area is particularly complicated, it may be wise to consult experts. Professionals can provide insights into the best materials and techniques for your specific situation, ensuring a thoroughly effective vapor barrier installation.

