Understanding MiniDV Tapes and Digital Conversion
What are MiniDV Tapes?
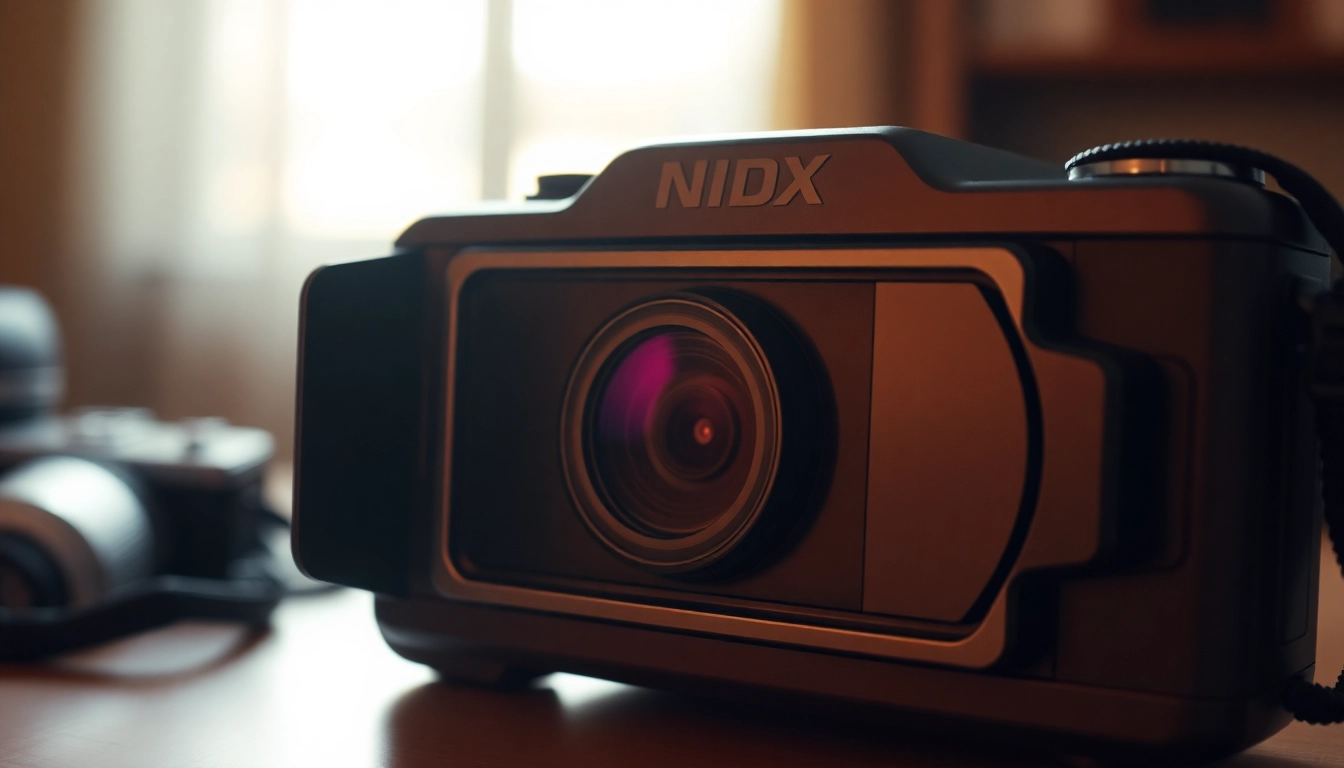
MiniDV tapes are a format of digital video recording medium that came into popularity in the late 1990s and early 2000s. Measuring just 65 mm × 48 mm × 12 mm, these compact tapes were designed to hold about 60 to 90 minutes of video at a high quality, making them a popular choice for amateur and semi-professional videographers alike. They utilize a helical scanning method and deliver enhanced video resolution compared to their analog predecessors, which contributed to their widespread adoption during the era of camcorders. However, due to advancements in technology and the rise of digital storage solutions, such as SD cards and solid-state drives, MiniDV tapes have become less common, leading many users to seek conversion to more modern formats. For those looking to preserve cherished memories captured on MiniDV tapes, the process of converting Minidv to digital can be a vital step.
Benefits of Converting MiniDV to Digital
The conversion of MiniDV tapes to digital format encompasses a multitude of advantages. First and foremost, digital files are far more convenient to store and manage than physical tapes. Digital formats allow for easy access, editing, sharing, and archiving without the risk of physical degradation or damage over time. Additionally, converting to digital ensures that video quality is maintained, and formats like MP4 or AVI offer widespread compatibility with a variety of devices, including computers, tablets, and smartphones. This versatility in playback allows users to relive their memories with clarity and ease.
Moreover, digital files can be effortlessly backed up in multiple locations, protecting against data loss due to hardware failure or environmental factors. In terms of user experience, the ease of uploading, editing, and distributing digital content makes it far more appealing than the cumbersome process of managing physical tapes. Lastly, conversion opens up possibilities for video enhancement—such as color correction and stabilization—which can transform old footage into visually appealing content ideal for sharing with friends and family.
Common Challenges in MiniDV Conversion
Despite the evident benefits, the process of converting MiniDV tapes to digital format comes with its own set of challenges. One primary concern is the condition of the tapes; older MiniDV tapes can suffer from wear and tear, leading to issues such as playback glitches or loss of data integrity. Understanding the state of your tapes is crucial for determining the best method for conversion.
Another challenge is the need for compatible equipment. Many modern computers and devices lack the necessary ports or interfaces to connect older camcorders or tape players. This may require purchasing additional hardware like a firewire adapter or a video capture card. Furthermore, issues can arise with the software used for conversion; not all programs are designed to handle MiniDV formats effectively, leading to potential quality loss during the conversion process. Lastly, for individuals inexperienced in video technology, navigating these processes can be daunting and time-consuming.
Preparation for MiniDV to Digital Conversion
Gathering Necessary Equipment
Before initiating the conversion of MiniDV tapes to digital, it’s essential to gather all necessary equipment. Firstly, you will need a working MiniDV camcorder or a compatible player with the capability to read your tapes. If your computer does not have a firewire port, you may need to invest in a firewire card or an external video capture device that supports digital video transfer.
In addition to hardware, ensure you have adequate storage for your digital files. An external hard drive or cloud storage can provide excess space to accommodate high-definition video files that can exceed several gigabytes in size. Depending on how you plan to edit or produce the digital videos, having video editing software ready, such as Adobe Premiere Pro or Final Cut Pro, can be advantageous for later stages of video processing.
Assessing Tape Condition
Evaluating the condition of your MiniDV tapes is a pivotal step before conversion. Factors such as age, storage conditions, and usage frequency impact playback quality significantly. Look for visible signs of damage—such as creases, tears, or mold on the tape casing or the tape itself. If a tape shows signs of deterioration, it might be wise to professionally clean or restore the tape before attempting conversion. Testing the tape in its player is also advisable to confirm that it can play without errors; this step can help forecast potential challenges you may encounter during the conversion process.
Choosing the Right Software for Digital Conversion
Selecting the appropriate software can make or break your conversion experience. The best software for converting MiniDV tapes to digital should offer high-quality outputs along with user-friendly functionality. Programs like iMovie, Sony Vegas, or even dedicated tools like Elgato Video Capture provide intuitive interfaces for entry-level users. For advanced users, more sophisticated software such as Adobe Premiere Pro or Final Cut Pro can offer in-depth editing features post-conversion. It is essential to research and potentially try free versions or trials of software to assess compatibility and ease of use before committing to a purchase.
Step-by-Step Process of Converting MiniDV to Digital
Connecting Devices for Digital Transfer
Once you have your equipment ready, it’s time to connect your MiniDV camcorder or player to your computer. Depending on your equipment, you will typically establish a connection using a firewire cable. Ensure that your camcorder or player is set to play mode, and Your computer should recognize the device and prepare for data transfer. Install any necessary drivers if prompted. If your system does not have an appropriate driver installed automatically, refer to your manufacturer’s website for support.
Executing the Conversion Process
With everything connected, launch your selected conversion software. Most programs will guide you through a selection of prompts to initiate the transfer. Start by selecting the input device, which is your MiniDV camcorder or player, and choose the destination folder for the digital files. Ensure that the capture settings are optimized—select a resolution that matches or exceeds the original quality of the tapes to preserve visual integrity.
Begin the tape playback, and the software will handle capturing the video directly onto your computer’s hard drive. This step is often time-consuming, as it depends on the length of the tape being converted. Be patient while your software captures the footage; interruptions can result in poor-quality outputs.
Saving and Organizing Your Digital Files
After the video has been captured, it’s crucial to save and organize your files correctly. Choose file names that correspond to the content of the tapes for easy retrieval in the future. You might consider adding metadata to your digital files to enhance their organization, such as date, location, and brief descriptions to make searching simpler. Lastly, save multiple copies of your files on different storage platforms—local and cloud—to safeguard against data loss and ensure longevity.
Best Practices for MiniDV to Digital Conversion
Avoiding Common Pitfalls
While converting MiniDV tapes to digital format, there are several common pitfalls to avoid. One notable issue involves inadequate backups; forgetting to create multiple backups can lead to disaster if corruption occurs. Additionally, ensure your hardware setup is robust; a poor connection can lead to interruptions or failing quality. Always check your camera or player batteries prior to conversion, as failing power can cause undesirable interruptions during the transfer process.
Ensuring High-Quality Output
High-quality output is paramount for preserving the essence of your original footage. Choose the highest quality settings available in your conversion software and consider transcoding to a lossless format such as AVI during the initial capture process. You can always convert to more compressed formats like MP4 later for sharing, but starting with a lossless version helps maintain the integrity of the video for future edits or enhancements.
Preservation Tips for Digital Files
Preserving digital files effectively requires strategic planning. Start with solid backup strategies—employ a “3-2-1” rule: maintain three total copies of your data, in two different formats, with one copy stored offsite or in the cloud. Regularly verify the integrity of your files by checking for corrupted data and considering migration to newer formats or platforms every few years as technology evolves. Lastly, keeping your digital storage organized and labelled will save time and improve accessibility long-term.
Future-Proofing Your Digital Videos
Regular Backup Strategies
Future-proofing your digital videos begins with implementing regular backup strategies. Making a habit of regularly updating your backups can ensure that you do not lose cherished memories gathered from MiniDV tapes. Setting a schedule—whether it’s monthly, quarterly, or biannually—can help keep your archived videos secure. Utilize various storage methods, including external drives and cloud storage subscriptions that offer redundancy, to enhance the safety of your digital memories.
Choosing the Right File Formats
Choosing the right file formats is key to the longevity and compatibility of your videos. Common formats such as MP4, MOV, and AVI provide a balance between file size and quality, but newer formats like HEVC may offer better compression if you want to conserve space without sacrificing clarity. Keep abreast of evolving digital standards; as technology advances, it is possible that newer, more efficient formats emerge, making it worthwhile to revisit your archived videos periodically to convert older formats to newer alternatives.
Updating Technology and Storage Solutions
As technology progresses, so should your storage solutions. Transitioning to faster storage devices, with upgraded features such as better data recovery capabilities and greater durability, can facilitate better management of your digital videos. If the optical storage mediums like DVDs or Blu-rays once served you well, consider transitioning to SSDs or cloud data storage for improved performance and accessibility. Regular assessments of your technologies are key to ensuring that you have efficient, secure, and user-friendly access to your digital video library well into the future.