Understanding Common Dryer Issues
Typical Signs Your Dryer Needs Repair
Household appliances are designed to simplify our lives, and the dryer is no exception. However, like any machine, dryers can encounter problems. As stewards of your home, it’s crucial to recognize the early signs of malfunctioning. Some typical indicators that your dryer might require attention include:
- Dryer not spinning: If you notice that the dryer drum remains still while the motor runs, it’s a sign that the belt may have come loose or broken.
- Unpleasant odor: A burning smell can indicate overheated components, while mildew or mold could suggest dampness inside.
- Excessive noise: Unusual sounds, such as grinding, squeaking, or thumping, can hint at worn-out rollers or bearings.
- Long drying times: If clothes remain damp after a full cycle, it could indicate blocked vents or heating element issues.
- Frequent tripping of circuit breakers: This may signify electrical issues or an overloaded circuit.
Regular monitoring for these signs can help you catch issues early before they necessitate more extensive dryer repair or replacement.
Causes of Dryer Malfunctions
Diverse factors can lead to dryer malfunctions. Understanding the root causes can help you refine your troubleshooting process. Here are some common culprits:
- Blocked exhaust vent: Accumulation of lint and debris can obstruct airflow, impairing the dryer’s efficiency.
- Faulty thermostat: This component regulates the temperature; if it’s malfunctioning, your dryer may either overheat or not reach the desired temperature.
- Worn-out drive belt: The drive belt is crucial for drum rotation. Over time, it can fray, causing the drum to stop spinning.
- Defective heating element: If the heating element fails, clothes will not dry as expected.
- Electrical issues: Issues with wiring or internal circuits may cause the dryer to stop functioning entirely.
Benefits of Timely Dryer Repair
Delaying dryer repairs can result in higher energy bills, longer drying times, or potentially hazardous situations like fires from overheating. Here are several benefits of addressing issues promptly:
- Cost savings: Early repairs often prevent minor problems from escalating into expensive replacements.
- Improved efficiency: A working dryer operates at peak efficiency, reducing your household energy consumption.
- Extended lifespan: Regular maintenance and timely repairs can prolong the life of your dryer.
- Safety assurance: Prompt repairs can mitigate potential safety hazards associated with faulty dryers.
Tools and Equipment for Dryer Repair
Essential Tools Every DIY Repairer Should Have
Embarking on a DIY dryer repair can be a fulfilling experience; however, it requires the right tools. A comprehensive toolkit will not only make repairs easier but also safer. Essential tools include:
- Screwdrivers: A set of flathead and Phillips screwdrivers is vital for disassembling various parts.
- Multimeter: This instrument can help you test electrical continuity and measure voltage, ensuring all components are functioning correctly.
- Pliers: Needle-nose and regular pliers can assist in gripping, twisting, and cutting wires.
- Torx bits: Some dryers use specialized screws, making Torx bits essential for repairs.
- Vacuum cleaner: Keeping lint and dust at bay is critical for preventing blockages and maintenance.
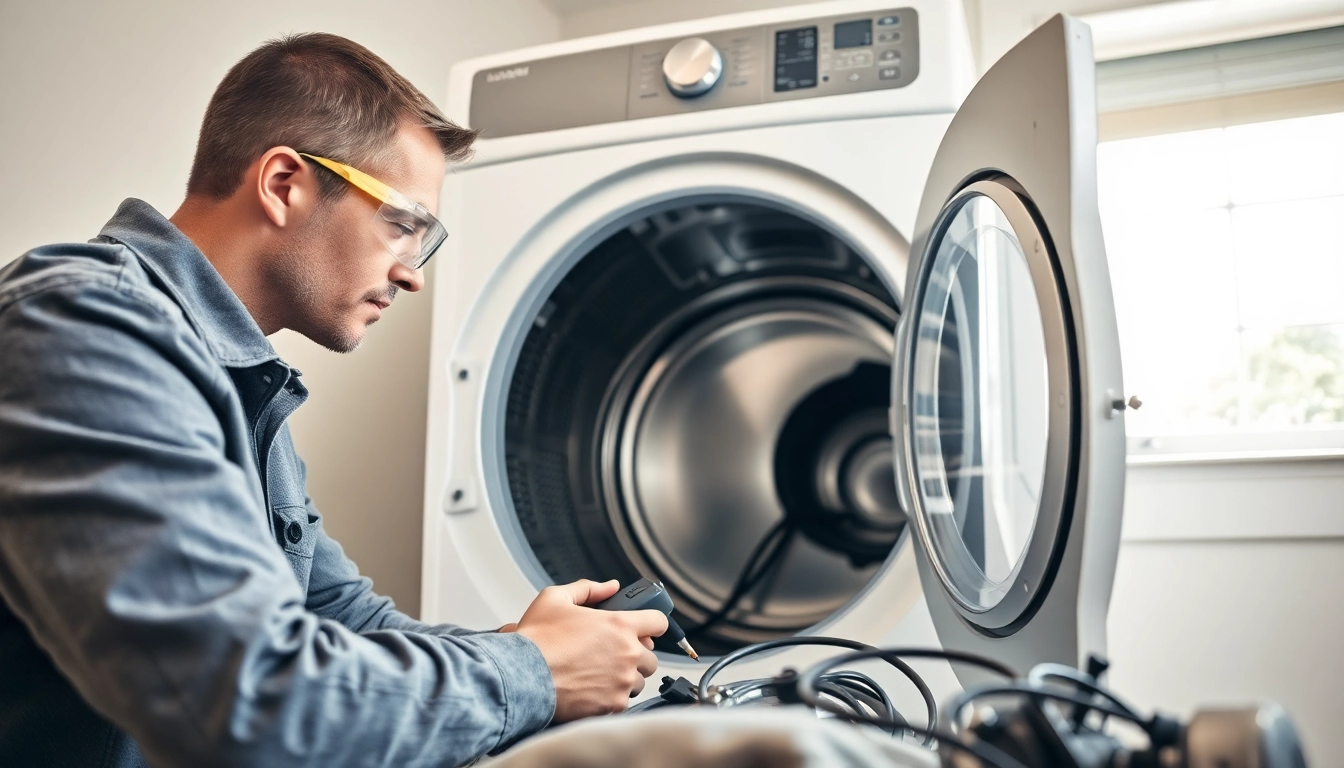
Safety Gear for Successful Repairs
Safety should be your top priority when repairing any appliance. By wearing proper gear, you can prevent injuries during the repair process. Recommended safety gear includes:
- Safety goggles: Protect your eyes from dust, debris, and sharp components.
- Gloves: Use gloves to protect your hands from cuts and electrical shock.
- Dust mask: If you’re working with old machines that may contain mold or dust, wearing a dust mask can keep you protected.
- Non-slip shoes: Ensuring stable footing can aid in preventing slips and falls in your workspace.
Investing in Quality Equipment for Long-Term Use
When it comes to tools and equipment, quality often matters more than quantity. Investing in durable, high-quality tools can yield better performance and greater safety over time. High-grade tools generally perform better, reducing the chance of breaks during critical repair tasks. Furthermore, they tend to last longer, which reduces the need for frequent replacements.
Step-by-Step Guide to Diagnosing Dryer Failures
Initial Assessment of the Dryer’s Condition
The first step in addressing dryer issues is performing an initial assessment. Start by ensuring that the dryer is plugged in and that the circuit breaker hasn’t tripped. Inspect for any visible signs of damage, particularly around the door, vent, and power cord. A comprehensive visual inspection can reveal issues such as:
- Physical damage to the appliance
- Signs of overheating
- Status of the lint filter and exhaust vent
Testing Electrical Components for Malfunctions
Electrical components are the backbone of modern dryers. To pinpoint electrical issues, utilize a multimeter to test the following parts:
- Wiring harness: Ensure there are no frayed wires, loose connections, or burnt terminals.
- Thermostat: Test its functionality by checking for continuity.
- Heating element: Determine whether the heating element is functioning appropriately by conducting resistance tests.
If you identify faulty electrical components, they will need replacing for optimal dryer performance.
Identifying Mechanical Faults in Your Dryer
If electrical elements are intact, it’s time to turn to mechanical components. Open the dryer and check:
- Drum rollers: Excessive wear can lead to a noisy dryer and drum damage.
- Drive belt: Inspect the drive belt for signs of cracking or fraying. This is crucial for drum operation.
- Door switch: A non-functioning door switch can lead to electrical failures, preventing the dryer from operating.
Advanced Dryer Repair Techniques
Replacing Common Parts: A How-To Guide
Once you’ve diagnosed the problem, you may find that certain parts need replacement. Here’s how to replace some of the most common parts:
Replacing the Drive Belt
1. Disconnect the dryer from power.
2. Remove the front panel or back panel, depending on your dryer model.
3. Locate the drive belt and take note of its routing.
4. Slide the new belt over the motor and drum, ensuring it is properly aligned.
5. Reassemble the dryer panels and reconnect to the power source.
Changing the Heating Element
1. Unplug the unit and remove the back panel.
2. Identify the heating element; it’s typically housed in a bracket.
3. Unscrew the component and detach any connected wires.
4. Install the new heating element in reverse order.
5. Reassemble the dryer and test its functionality.
When to Call in a Professional for Dryer Repair
While many minor repairs are manageable, certain situations warrant professional assistance. If you encounter:
- Persistent electrical problems that you can’t isolate
- Dangerously high temperatures during drying cycles
- Mysterious noises that you cannot diagnose
- Persistent and unexplained odors
It’s safe to consult a professional trained in dryer repair. Professionals have the expertise to identify underlying issues quickly and accurately.
Preventative Maintenance Tips for Longevity
Preventative maintenance can extend the life of your dryer considerably. Consider the following tips:
- Clean the lint filter after each load to ensure optimal airflow.
- Inspect and clean the vent system periodically to prevent lint build-up.
- Check the hose connections for blockages or kinks.
- Regularly test the heating element to ensure consistent performance.
- Keep the surrounding area free of clutter.
By following these steps, you can maintain your dryer’s efficiency and prevent future issues.
Maximizing Dryer Efficiency Post-Repair
Best Practices for Dryer Use
Once repairs have been made, it’s vital to use your dryer wisely to maximize its efficiency:
- Avoid Overloading: Overpacking can hinder air circulation and lead to longer drying times.
- Use Appropriate Settings: Adjust drying settings based on fabric type for better results.
- Dry Similar Fabrics Together: Grouping similar fabrics can achieve more efficient drying.
Energy-Saving Tips After Repair
Using your dryer efficiently can also lower energy bills:
- Utilize moisture sensors if available. They optimally end the cycle once clothes are dry.
- Line dry items when practical to reduce reliance on your dryer.
- Perform regular maintenance checks to ensure optimum performance.
Monitoring Performance for Future Repairs
After repairs, continuously monitoring your dryer’s performance is essential. Keep an eye on the following:
- Unusual noises or malfunctions that may indicate an underlying issue.
- Drying times to check for efficiency drops.
- Odors that could signal overheating components or electrical issues.
Early detection can save you from costly repairs down the line while ensuring that your dryer continue to operate efficiently.